
Connecting to VCSA with WinSCP
If you try to connect to the VCSA with WinSCP in a default configuration, you will get the following message:
Received too large …. SFTP Packet ….. Cannot initialize SFTP protocol. Is the host running an SFTP server?

This occurs because the default shell for the VCSA 6.5 is not bash.
VMware KB 2107727 recommends changing the shell that the entire VCSA uses from /bin/appliancesh to /bin/bash prior to using WInSCP, then changing it back when you are done! This is a ridiculous waste of time and unnecessary re-configuration of the VCSA.
It is much more expedient just to reconfigure WinSCP and leave the VCSA the way it is! In order to use WinSCP, you will need to change where WinSCP looks for the sftp-server binaries.
In the new connection dialog, specify the Host name, User name and then click the Advanced button
The settings for VCSA 6.5 and VCSA 6.0 differ slightly so
for VCSA 6.5:
Choose the Environment/SFTP option
Specify for SFTP server: shell /usr/libexec/sftp-server

for VCSA 6.0:
Choose the Environment/SFTP option
Specify for SFTP server: shell /usr/lib64/ssh/sftp-server

And then save the settings (which include the SFTP server)

Now you should be able to login:

Accept the host key

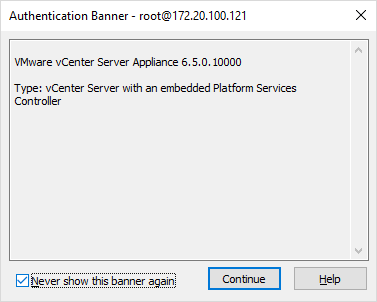
Click: Never show this banner again

Enter the password for root

As soon as you connect, you will be in the root user folder which should be empty.
Navigate up one level in the right-hand pane of the interface

When you are at the root of the filesystem, you will see this:

And you can access any other folders from there, for example: /var/log

Connection to ESXi
Connecting to ESXi with ESXi 6.0 and ESXi 6.5 is pretty much default.

You don’t need to change any of the default variables, it should connect right away


Connecting to ESXi 5.X and prior will require you specify SCP in place of SFTP in the connection dialog
